help_outline Skip to main content

Fuel Management

Long-body pump rebuild
Chris Johnson
I did some searching, but couldn't find anything on the board about a rebuild kit for the long-body fuel pump. When Tom ran the original kit number through the system, it crosses to a set of brushes.

If somebody has been through this recently, can you please post the info again?

Chris Johnson
If you aren't constantly impressed with your car, then it needs fixing.
109.018-12-000010
109.018-12-000019
109.018-12-003834
100.012-12-000790
www.300SE.org
George Des
Chris,

I do not believe you will find a rebuild kit for the long body pump. As you probably know, there is one available for the newer style, short body pump but it only contains the brushes and two of the o-ring seals. The stock kit does not contain any brush springs, shims, or terminal seals. The only seal from this kit that can be made to work on the older style pump is the large o-ring that seals the bottom cover plate. I've rebuilt many of the larger style pumps and have had to source the o-rings, brushes, bearings, etc through other than MB parts suppliers. All of these parts less the brushes are readily available through several bearing and seal suppliers. The deep groove ball bearings are 626ZZ and 627ZZ. The brushes need to be special ordered and cut to size. Two or three other parts such as the in-line filter, the mechanical bellows seal, and the locating washer usually stump the re-builder because they are no longer available and these parts are sometimes the source of large style pump problems. Fortunately, the bellows seal seldom fails completley and can often times be salvaged and successfully used again if one is careful in disassembling the pump. Often times a little stretching and polishing of the brass bearing surface is sufficient to put it into full service again. The locating washer is another issue. This part is critical to the operation of the bellows seal and without it the seal will "float" on the shaft allowing fuel to get into the motor portion of the pump. This most often happens when the pump has been sitting for extended periods of time and the gas congeals in the pump vane portion of the pump. Attempts to run the pump or turn the vane usually result in a broken tab. I tried to fabricate these on my own as I continually ran into pumps where the tab had broken off this washer and rendered it useless. It is a time consuming process to make these by hand as I'm sure one of the posters on this site can attest to. I was able to find a small company that would make these for me at a reasonable price so I have a number of these on hand. I have considered "kitting" these along with brushes, seals, bearings, etc, but I'm not sure how much interest there is out there for such a kit. There are several lengthy discussions on the rebuilding of both these pumps on the Pagoda web site for anyone that is interested. Hope this helps.

George Des
Chris Johnson
Hi George,

Thanks for the post. Unfortunately, I suddenly have two pumps here that are both leaking fuel out of the overflow tube. I did some poking around on the pagoda site a few weeks ago, but didn't readily turn anything up on the fuel pump. I'll have another look, but I think I am in trouble here.

I've got scads of pumps in the hangar, but it's 600 miles away! For the price of fuel, I could nearly buy a professionally rebuilt long-body pump. Actually, there are other reasons to go, so the fuel costs wouldn't stop me, but I do need to get this leaking fixed SOON. At the current price of premium, I can't afford to have it all leaking onto the ground. (I think this partly responsible for having run out of gas in the 600. The gauge didn't work, but I remember filling the tank up last fall, and the car hasn't traveled nearly far enough to completely consume it.)

Chris Johnson
If you aren't constantly impressed with your car, then it needs fixing.
109.018-12-000010
109.018-12-000019
109.018-12-003834
100.012-12-000790
www.300SE.org
bwostosh
Good to know, that there is someone else there.
I fixed a few of those brass bellows 25 years back.
I now have 6 of those long styles, needing work/rebuild.
The originality guys need those.
Had an offer for $400 for a non leaker.
Had to save the only good one for myself.
also have 7 newer styles needing work.
How do we get a batch of parts?


Brian O.
George Des
Brian--the bellow themselves are not available as far as I know. The parts I referred to in my earlier post can be gotten from a number of different suppliers. I have a few sets of new brushes--can get more--can get the seals and bearings and have plenty of those locating washers--no in line filters or bellows though. Also, the armatures can be rebuilt if the comms are too far gone.

George Des
james lawson
Chris, My Poor 6.3 recently did this and posted the process he went through and how he made a seal from a feeler gauge. I think there was also an article in the Lode Star recently.

jim
abl567
The rebuild kit idea would go well in the Group store forum.

6.3 #2723, my first classic Benz
bwostosh
How about a group parts inventory?

I'd finally get a complete garage inventory for posting.
Another reason to get up in the morning.
These cores are becoming worth it.
They could be rebuilt, boxed and stored.
I have major components needing
clean, dissass., paint, check, replace, assemble

Those bellows stumped me too, tricky formed metal part

Brian O.
George Des
I saw the locating washer that MYPOOR 6.3 mae from the feeler guage and I can relate. I had many of these parts go bad as I previously noted and since it plays such a key role in the working of the bellows you just need to have one if the tab is broken. AS I alos pointed out, the tab gets broken when soemone tries to force a pump that has a stuck vane. I've also seen where these get broken when trying to remove the bellows from the shaft of the armature. If you aren't aware of the tab and try to twist the bellows off while pulling on it, it will result in a broken tab and useless locating washer. I had several dozens of these made should I run into the problem again anytime soon. Another often overlooked part is the small rubber o-ring on the shaft. This o-ring seals the top portion of the bellows to the shaft. When removing the bellows for whatever reason, the rubber o-ring never quite seals again the same way and should be replaced. Since it is difficult to find an exact size replacement of this seal, I have to use an o-ring with an undersized inner diameter and oversized outter diameter wet sanding it down with fine sand paper to eefect the proper fit between the shaft and the bellows seal--this is purely a trial and error process.

George Des
Art Love
The article on rebuilding the long pump is in the Autumn 2006 Lode Star (Issue 43) on pages 11-12. I got it from the local M-B Club magazine.
Art
Art Love
I recently posted on the thread in General Discussions on the Fuel Injected Roundie Restoration that Craig Tucker started about crud in a long body pump that I am working on. I was silly not to have taken a picture of the crud in the inflow pipe and filter at the time I found it. It filled the inflow pipe and brass sieve. After several days of soaking in ATF, brushing with kero and blowing out with the air compressor, I am part way through cleaning the impacted crud from the brass gauze filter. I thought it more appropriate to continue the thread here with a couple of pictures. One picture is taken from the top and the other from below. You can see that I have made a lot more progress on the upper side of the sieve than the lower, just an indication that the lower side was much worse. It is no wonder that this pump failed to deliver.
Art


Art Love
Here's a follow up.


Ron B
Art..do you know any dentists? ,ask if you can clean it in the ultrasonic.It's how i cleaned mine up. comes up like new but my machine is Kaput now after fluid leaked into the guts of the thing..[:(!][:D]

...There are old cars,and then there are Classics..(Mercedes Benz Ad. 1999)
Chris Johnson
Ron, what were you using as a cleaner in the ultra-sonic unit?

I have a three-quart unit, and frequently use it with standard liquid detergent (no lemon scent though!), and diluted Oil Eater solution. Tank and fuel pump screens I generally clean with carb cleaner.

When I got the ultra-sonic unit, I bought four gallons of the recommended solution from the manufacturer, but UPS delivered it to a neighbor (for whatever reason) and it sat on his porch frozen solid for four months before he sobered up enough to realize it was there.

Chris Johnson
If you aren't constantly impressed with your car, then it needs fixing.
100.012-12-000790
100.012-12-000867
109.018-12-000010
109.018-12-000019
109.018-12-003834
www.300SE.org
Ron B
I just used ordinary detergent too with a little added turpentine. I have heard of others using alchohol based carb cleaners etc but there is a very real risk of explosions as the stuff becomes aerosol.

...There are old cars,and then there are Classics..(Mercedes Benz Ad. 1999)
Art Love
Fuel pumps one day, dentures the next[:D][:D]. I've got two pumps in bits at the moment. It's interesting what you find and what you learn. I got one in bits that someone had butchered apart. Rather than patiently soak, spray with penetrating "oil", tap and prize apart, the bottom bolts were angle ground off, the inflow pipe hex had been attacked with a chisel etc. Fortunately, all the bits were still there and everything is rebuildable.

Took the two pumps over to Justin's shed this morning. The butchered pump had the top bearing stuck in the top lid of the pump. It had come off the shaft stuck in the lid instead of stuck on the armature shaft. Being a surgeon, I had NO idea how to get the bearing out of the lid. Justin packed the shaft hole with soap and started to pound on the soap with a drift and lo and behold, the bearing gradually came out. I learned something new[:D].

I bought a couple of new inflow pipes from Tom Hanson, part 000 997 59 72. Neither Justin nor I could see just how the brass sieve in the pictures above came out of or fitted into them. I was concerned about damaging the sieve, so we decided to reface the hex on the existing one where it was chiseled and reuse it. Does anyone know how these two components come apart and go together?

The electric motor housing from the one with the clogged sieve that I took apart was FULL of carbon dust. The armature and brushes were in good condition despite that. We've cleaned both motor housings out and Justin will take the two armatures and housings to an electrical shop. The second armature has wear a couple of mm deep where the brushes rub and will need to be rebuilt. All 4 bearings are shot and we will replace them. Then I'll put the whole lot back together again and we should have a couple of good pumps.
Art
Ron B
Isn't the seive just pushed into place and held there with little lugs on the seive body?

...There are old cars,and then there are Classics..(Mercedes Benz Ad. 1999)
Art Love
I'm doing another follow up on this. George Des mentioned sanding down an O ring for the shaft seal at the bottom end of the bellows seal but did not say what he started with. In the article I mentioned that I had published in Lode Star #43, a condensed version of the advice on the Pagoda Roof Club website, there are typos. The same error appears on the Pagoda Roof website. In the early discussion it it says that the O ring can be replaced witha 5x1mm. I believe this to be wrong. This size O ring is too small in the groove on the shaft, even if its outside diameter may be about right. In the assembly section, it says to use a 5x1.5 O ring. There is another typo in the Lode star article, calling it a 1x1.5. There is no way that the bellows seal will go over a 5x1.5 O ring. This size O ring certainly fills the cutout in the shaft quite well, but is far too thick to allow the bellows seal to pass over it. It has to be sanded down to about one third to one half of its original thickness to do this. I did this by mounting the O ring on a Dremmel and applying 80 and then 120 grade sandpaper to the spinning O ring. In my earlier attempts, I trial fitted the O ring repeatedly to the shaft, but when I got a bit smarter, I trial fitted it to the bellows seal off the shaft.
Art
George Des
Art,

I'll have to look to see what size I've been using. The key thing is that the o-ring needs to be tight enough that it does not "spin" when you are sanding it down to size. What I do is chuck the armature in a drill press with the comm side of the armature nearest the chuck. What I will do is sand a little on low speed and then stop to check if the bottom portion of the bellows will just slip by the o-ring. It usually takes several stops and starts to get it just right. This sizing is critical and I was skeptical when the Tech Manual article was put together and did not include this becasue I've never been able to find an o-ring that will do the job right out of the "box"--maybe others have, but I've found the procedure I use provides great results and after you've done it a few times, it is no big deal to do.
If the shaft o-ring is not tight against the bellows top edge, you will get leakage--maybe not right away, but sooner or later it will--best to do it right the first time. Hope this helps.

George Des
Art Love
Here's another part of the pump. This armature had severely worn copper brush contacts. There was a 1mm deep depression in the contact face. Unfortunately, I didn't take a picture of it. This picture shows the rebuilt contact points looking like brand new. The rebuild was done by Wacol Truck Electrics here in Brisbane. We'll replace the bearings and it is ready to go back into the pump


Art
Art Love
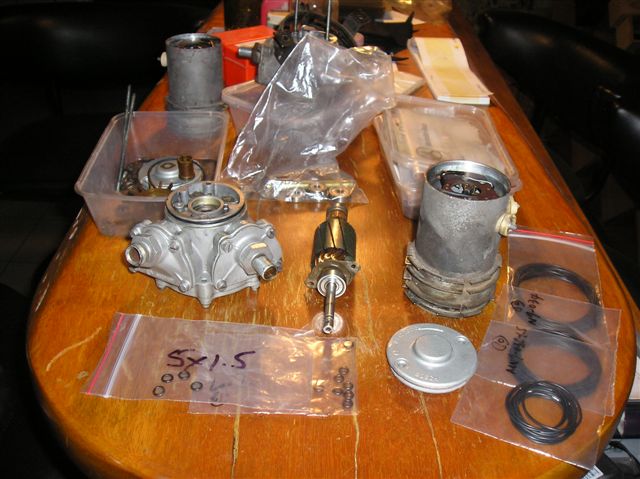
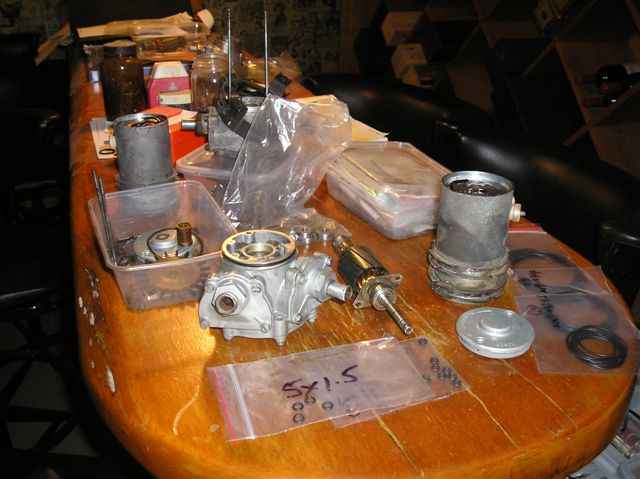
Justin got the new bearings on the armature shafts, so today I finally got some time to get one of the pumps back together. There are a couple more to go. Hopefully one will not leak and it will go on #765. I'll get the next one done tomorrow.


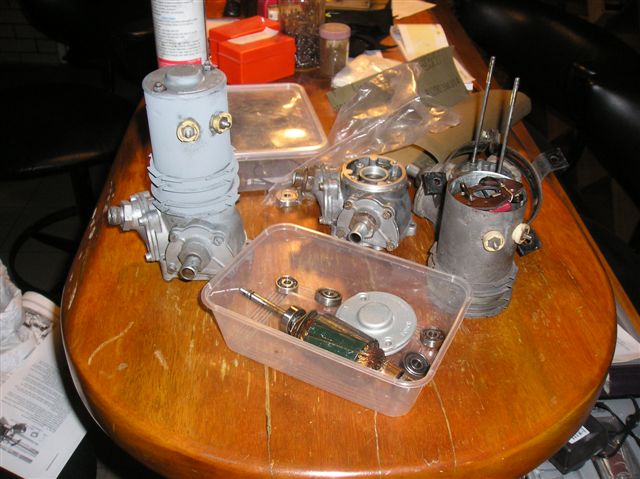
If any of you are wondering what that odd matt finish is on the electric motor housing, it is straight zinc to try to prevent further corrosion deterioration of the metal. I'll give it a spray of metal guard silver before it gets used. I don't have the metal guard can here at home; it's down at Three Point with the car.
Art
Art Love
I got another one back together today. It wasn't leaking, but required new brushes on the electric motor. I took the oportunity to replace the bearings while it was apart. Anyone want to take bets that it will now leak[:D]?


Art
wbain
I know this is old but my long body pump is missing it's little key in the pump section. I probably lost it when I took it apart a few years ago. I'm in the process of getting my Fintail operating so I need to check everything.

The pump section had lots of crud in it and gelled gas. I'm going to take the pump down to a well stocked hardware store to look for a candidate. I also checked the filter. It also had lots of junk in it and gelled gas. I cleaned that up.

I just bought a rust bucket 1960 220SE. It had a short body pump in the trunk, not connected, and on closer inspection, there is what looks like tar in it. I'm using acetone to soften the tar. I also bought some lacquer thinner. I'm going to try and take that one apart for cleaning.

Warren Bain '65 220S, '99 Volvo V70, 2002 Ford Crown Vic Police Interceptor
Return to Forum